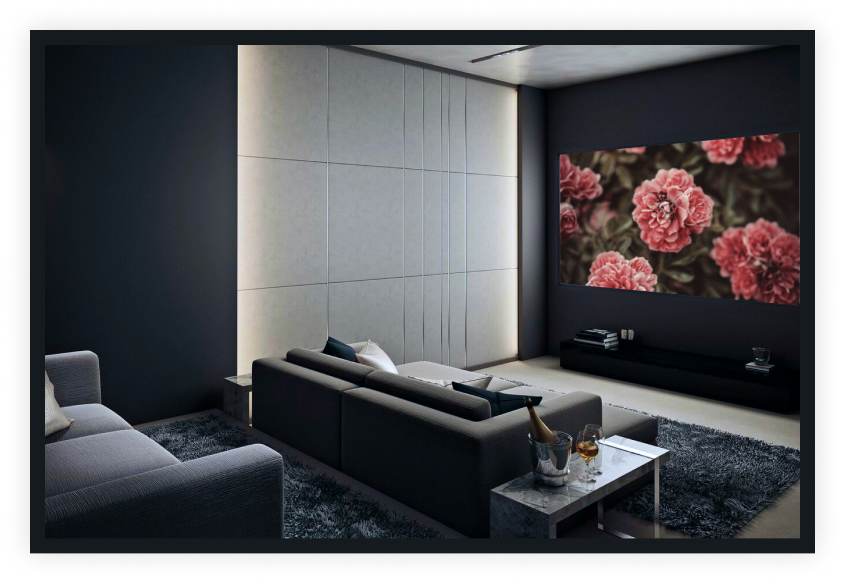
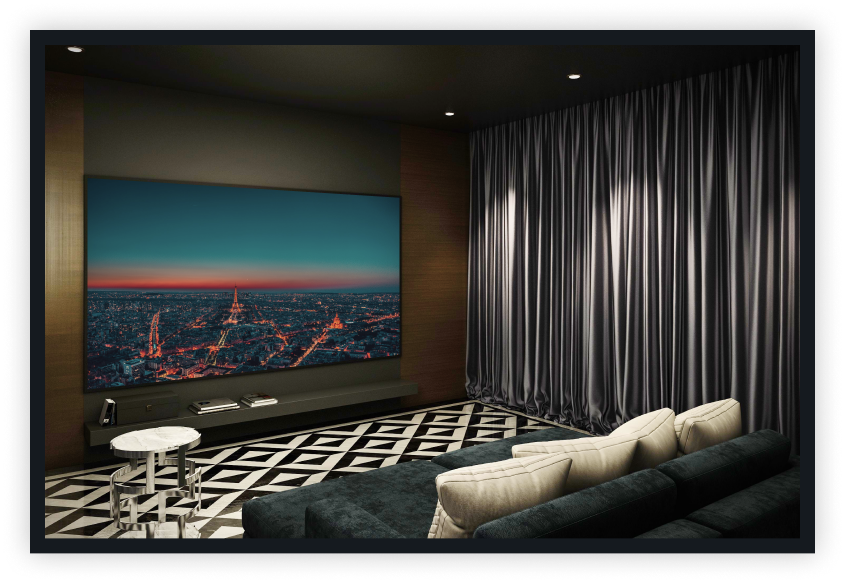
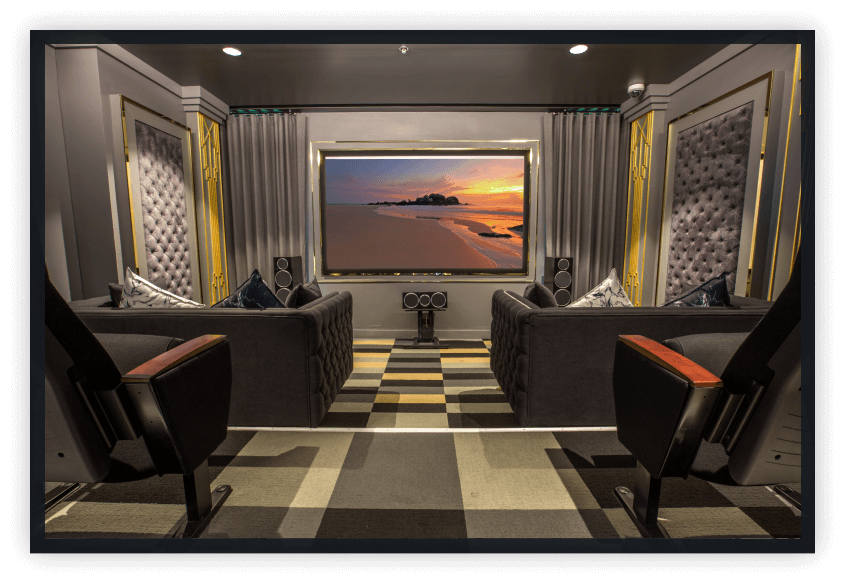
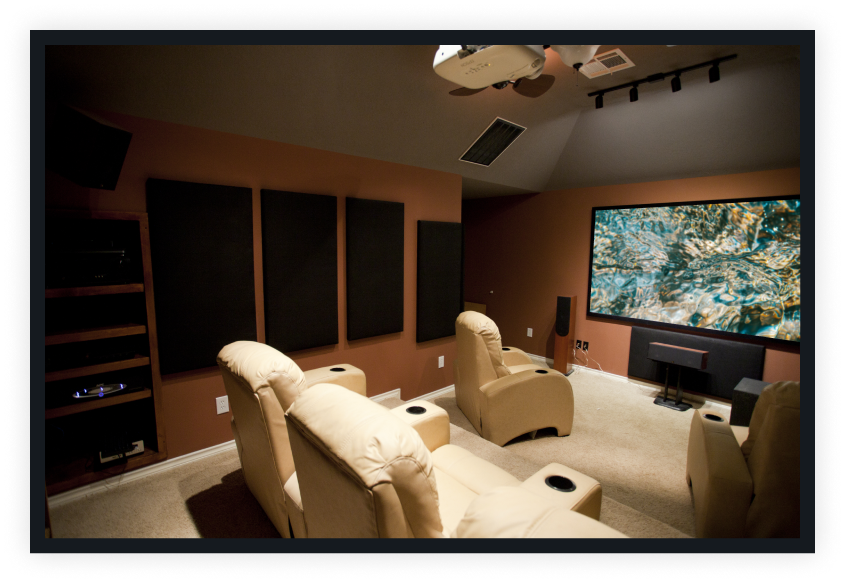
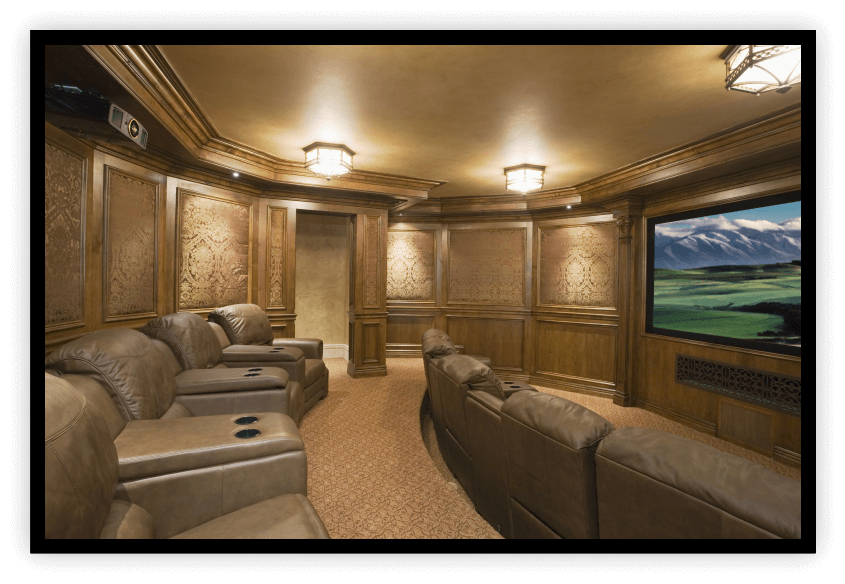
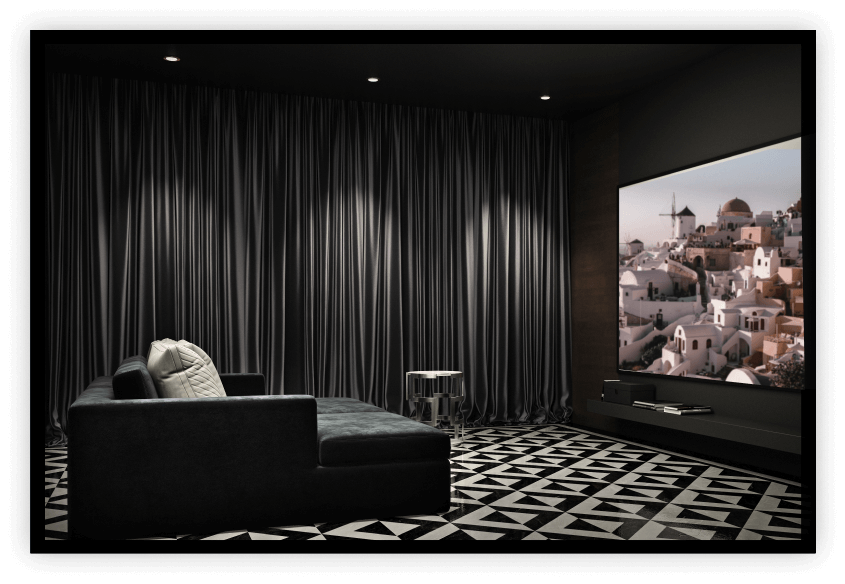
If you are setting up your own home theater, it goes without saying that you want the best products in the market. From comfortable seating to surround sound systems, the home theater is an investment, and projecting your media onto a bare, white wall is not going to be good enough.
But you also don’t have to spend countless funds on a fancy projection screen—making one yourself and installing it in your home theater is manageable and actually quite simple.
The main considerations are limited to location, material, and mounting, and this guide will walk you through each of these essentials.
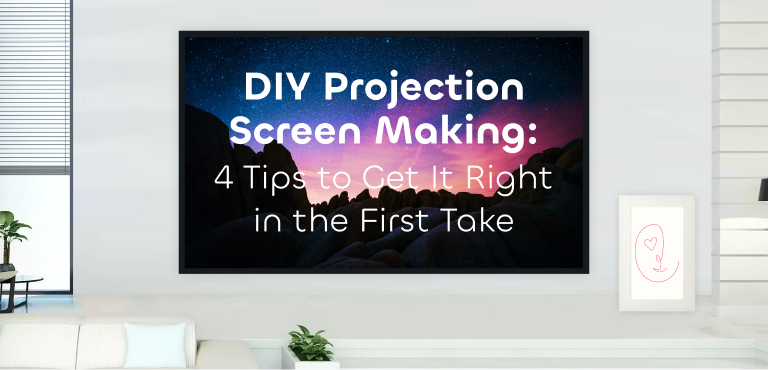
Read on for 4 tips for making a DIY projection screen for your home theater.
Projection Screens:
DIY or Purchase?
As you are setting up your home theater, you will need to decide the type of screen to install. Moreover, will you spend money on a store-bought projection screen, or create one yourself? A purchased screen may seem like the easier and better option, but at the end of the day, the expense doesn’t necessarily mean better quality. DIY screens are a great option for your home theater and setting up your own is surprisingly simple.
Essentially, all you need for a basic projector screen is a properly reflective surface that can be stretched snugly across a supporting frame, with a matte periphery contrast.
Why Should You Make Your Own Screen?
There are several advantages that come with installing a DIY project screen.

Cheaper cost
Because making your own projector screen is so much cheaper than buying one, you will be saving hundreds of dollars that you can put into a better projector unit or enhanced sound system.

Customization
With DIY screens, you can completely customize the screen to your specifications and room requirements.

Less repair expenses
Any repairs or tinkering needed can be completed by you, so your screen upkeep expenses will be lowered.
In the long run, installing a DIY projection screen saves money and allows you to tailor the screen to your home theater’s exact room requirements, while not compromising the image quality of whatever is being projected onto it.
Tip 1:
Choose the Ideal Screen Location
The first step in DIY screens is assessing your space and determining where the screen will go.
Although this is not a direct part of the screen building process, this is an essential step as it helps you take sizing and building materials into consideration. Once you place your projector screen, it can be a hassle to move around, especially if your projector is also mounted, seating arranged and installed, etc.
So don’t be afraid to try out several iterations of your home theater screen before finalising on the perfect option.
If you are going to have your projector screen for outdoor showings, this step is crucial. You might not have as many options in your yard as in a dedicated home theater room, so you need to be very specific with your outdoor screen placement. You also need to consider weather, audience shelter options, and ambient light from streetlights or porch lights.
Indoor DIY Projector Screen Considerations
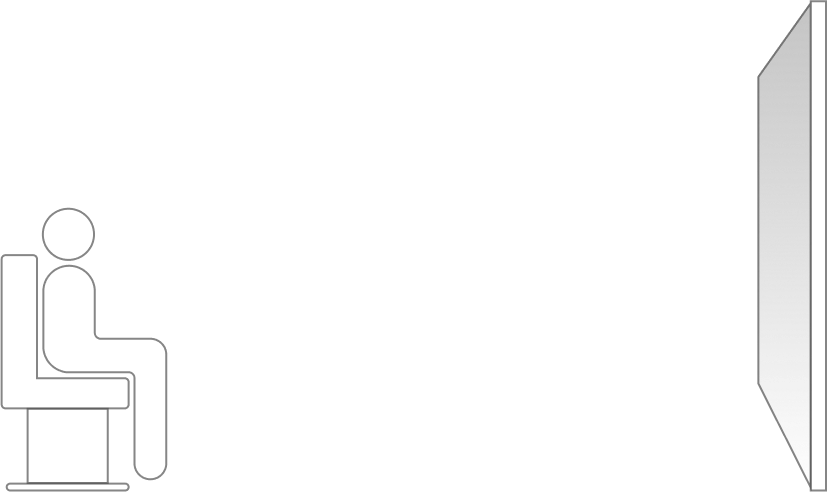
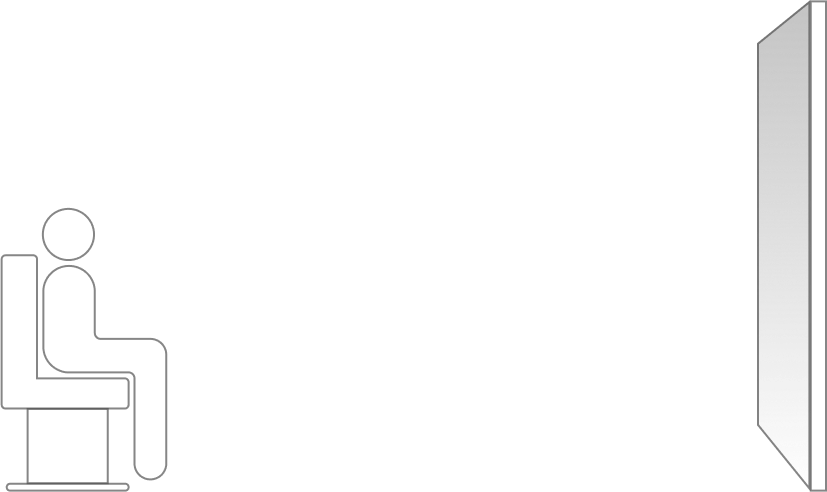
Your DIY screen will likely be going into your home theater setup, which means you have to consider some physical aspects of the space. While you assess the ideal spot for your screen to ultimately remain, make sure to take into account the distance of seating, both reclined and upright.
Keeping your audience’s viewing distance to the correct measurements is vital to an enjoyable film experience.
To avoid neck fatigue and eye strain, keep the bottom of the screen about 24 to 36 inches off the floor, and the audience’s line of sight leveled between the top two-thirds and bottom one-third of the screen.
For the best image quality, ensure that you place the screen on a wall that is not exposed to direct light, industrial or natural. Your screen material can become compromised and damaged when exposed to direct sunlight over prolonged periods of time.
Try closing the door and turning off the lights—does your selected wall show any signs of light seepage from outside the room? You will also have to consider the location of your projector unit, its zoom range and throw distance, location of the exit, and speaker placement, among other things.
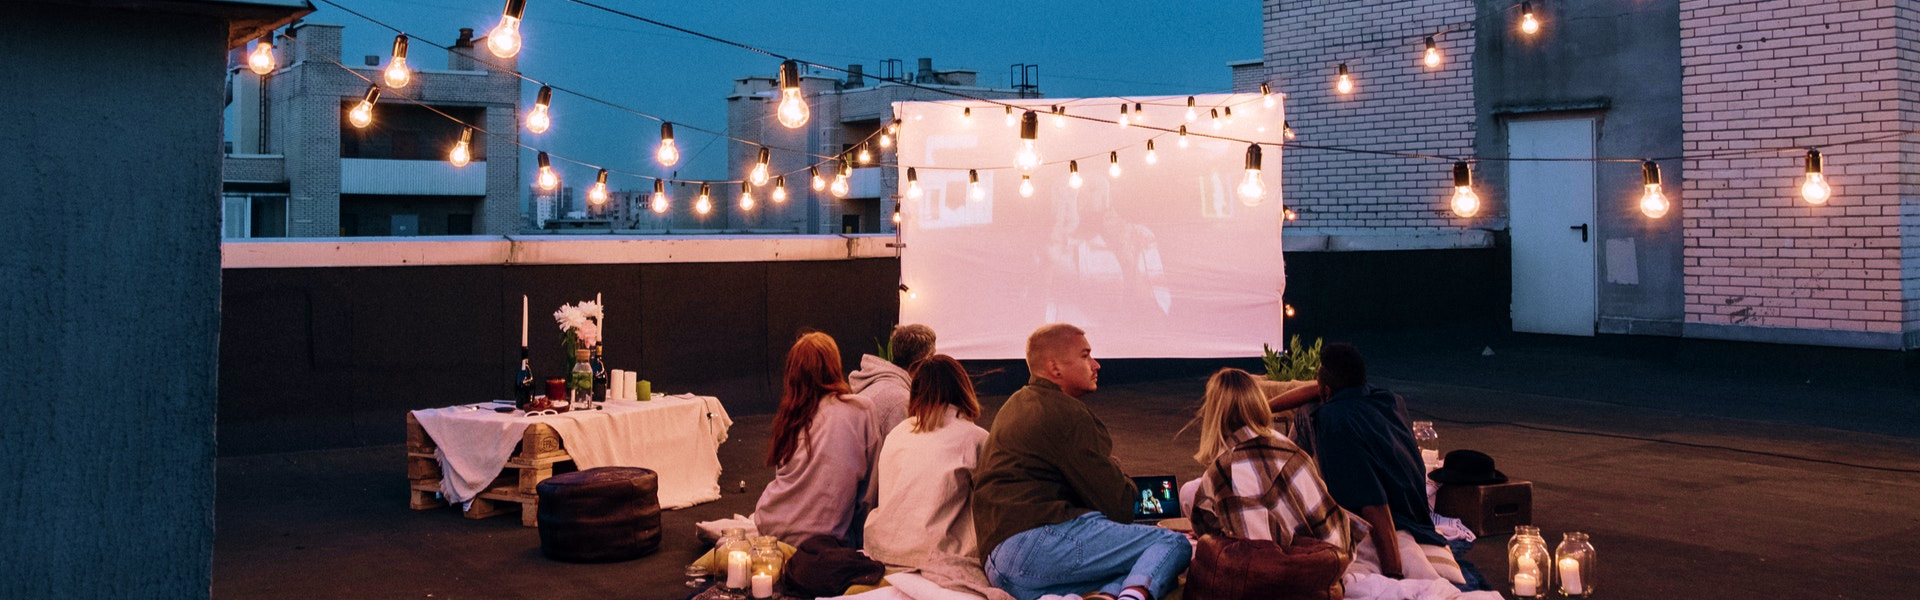
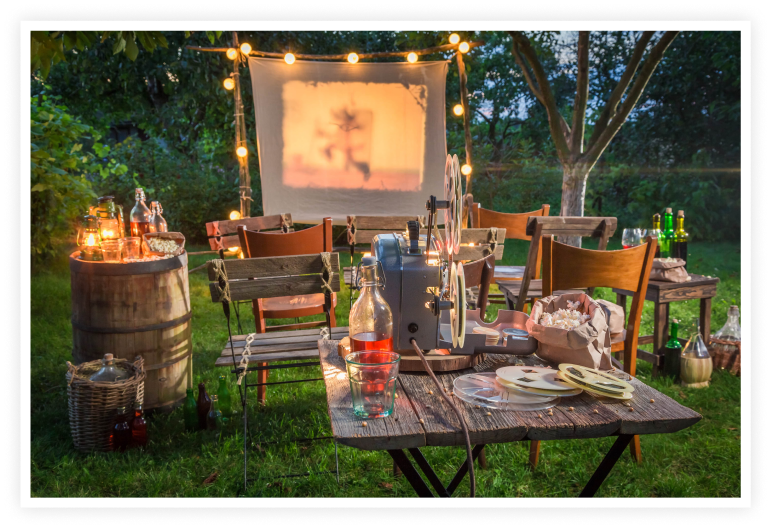
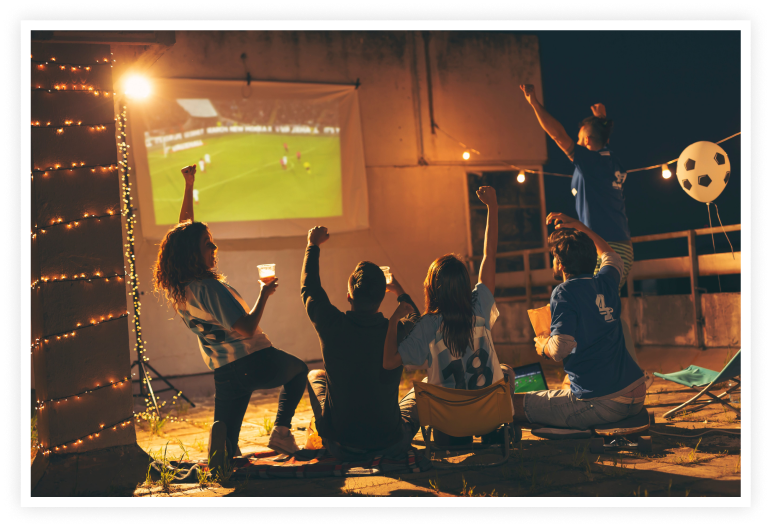
Outdoor DIY Projector Screen Considerations
Having a projector screen set up in the yard is a great option for outdoor activities. You can host evening viewing parties, plan star-lit video game tournaments, or display any other kinds of visual media you’d like.
And because outdoor projector screens can be quite expensive, such as an elite outdoor screen for over $200, building your own screen will save your budget without quality compromise.
Because your movie nights will take advantage of the natural darkness, your only lighting consideration would be any streetlights or porch lights that may affect the image quality.
Placement of the screen is a key aspect of installing an outdoor projector screen, but so is the material being used for building the screen.
Because your screen will have to be somewhat weather-resistant and a bit hardier than an indoor screen, the material quality is incredibly important.
You also want to position your screen with enough room for seating, be it chairs or picnic blankets, and with enough space to accommodate the projector’s zoom range and throw distance. If you have concerns about the weather, you might want to allow room in your setup for a tent or other type of shelter to be erected.
Tip 2:
Choose the Right Screen
The next consideration is what your screen material will be. There are many options to choose from here, and your specific home theater needs will dictate the best screen material for you.
Does your home theater situation need a stretchable, more portable screen? Or do you want a screen that will be kept in place and can be a rigid type of build? The varying options in projector screen materials will allow you the find the perfect choice for your home theater setup.
Types of Projector Screen Materials
Essentially, the mechanical properties of projector screens can be narrowed down into two types:
Stretchable
Non – Stretchable
A majority of manual projector screens use non-stretchable fabrics, but you can choose the better option of stretchable material to build your DIY projector screen.
Stretchable fabrics are favorable because they can withstand a considerable amount of tension while remaining a uniformly flat surface and are used in fixed-frame screens and tab-tension screens.
Plus, if you are planning to move your projector screen around, stretchable fabrics are great for portability.
Let’s take a closer look at some of the most frequently used materials for DIY projector screens.
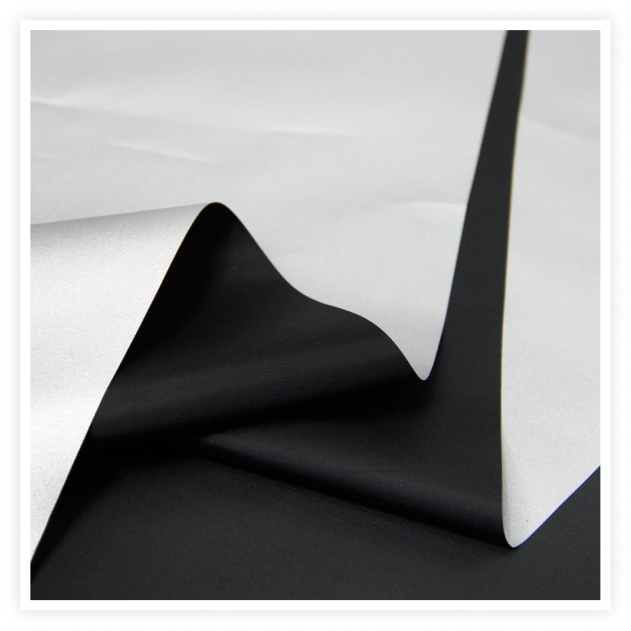
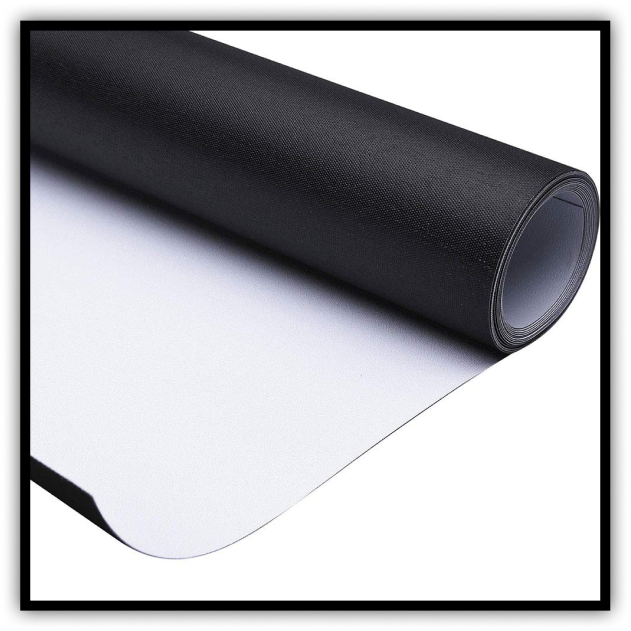
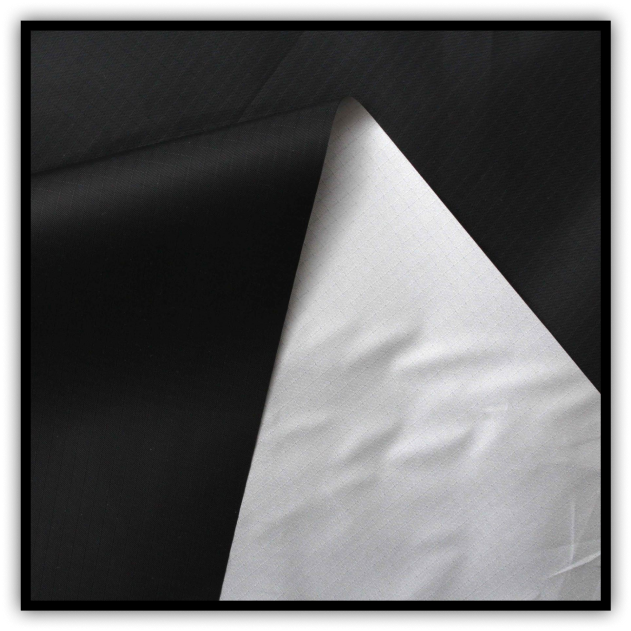
Blackout Fabrics
A popular choice for budget projection screen builders. This fabric is very smooth and flexible, will cover a surprisingly large surface area, and is very inexpensive. Because this material is specifically designed to block out light, it is a great backdrop for image projection.
FlexiWhite
This fabric is a very versatile material—flexible and easily stretches out any fold lines or wrinkles.
FlexiWhite is a popular material for hanging projector screens and can be installed outside as it is quite a sturdy fabric.
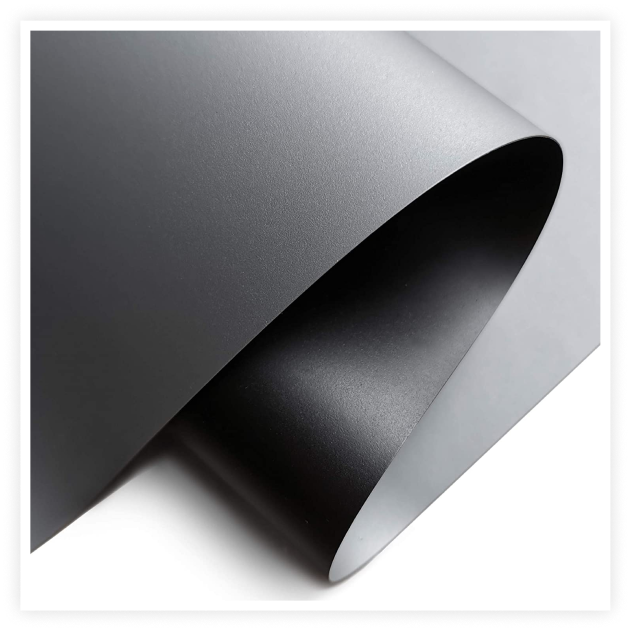
High Contrast Fabrics
These fabrics reflect less light (either ambient or projector light) than standard matte white fabrics, which gives you an enhanced color contrast.
But with this type of material, you need to use a gray-colored fabric instead of a white matte to ensure an increase in color contrast.
The downside to high contrast fabrics is their lower gain, resulting in darker image quality.
High Gain Fabrics
The ideal fabric for a screen situation where your projector has a low brightness or the amount of outside light is higher than you are able to successfully block out. But as a trade-off, this type of fabric has reduced viewing angles and increased hotspots. If this would prove to be problematic, you can try using a medium gain fabric.
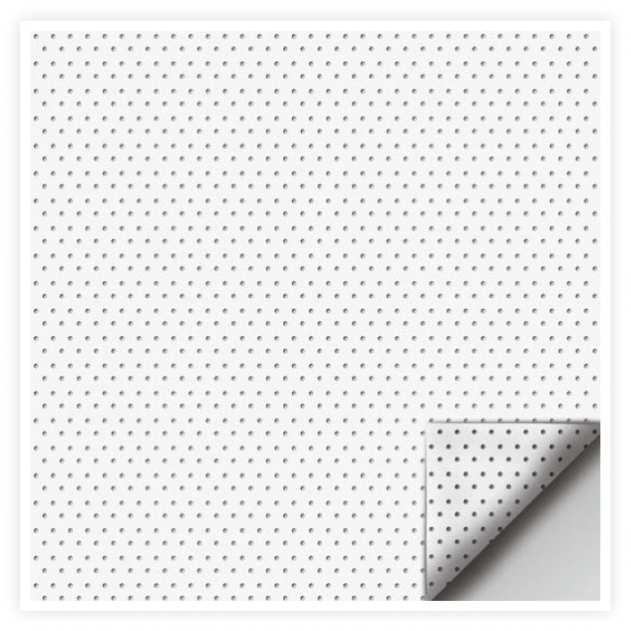
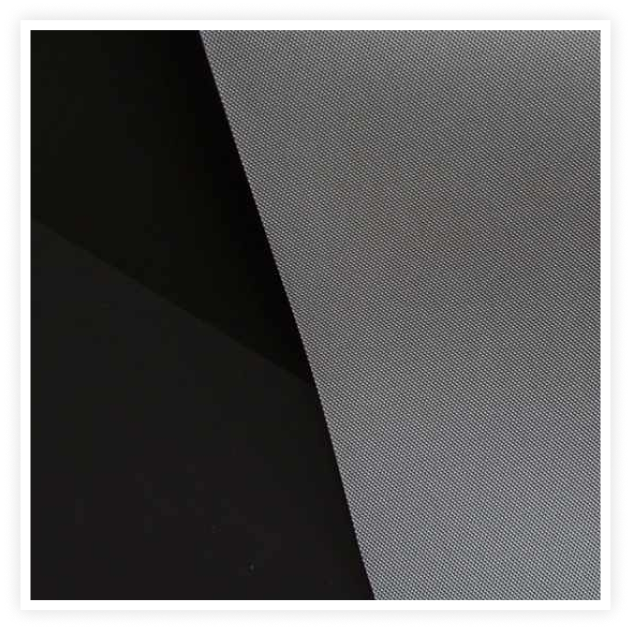
Perforated Screen Fabrics
This type of fabric is perfect if you are planning a more elaborate sound setup.
Perforated screen fabrics have tiny holes or perforations all over to facilitate the passage of sound.
If you are going to set up your center and front speakers behind the projector screen, using this fabric allows the sound to travel through the screen’s perforations, creating acoustic transparency.
ProWhite
Frequently used for roll-down screens, ProWhite can hang flatter than other materials because of its rigidity and stiff structure that will kink if bent too sharply. This material is typically best for a screen installation where stretching won’t be possible, and the situation calls for a more rigid build.
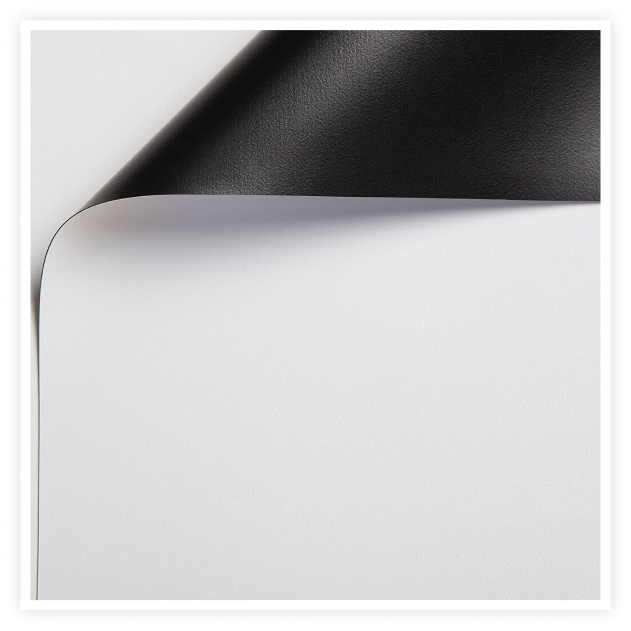
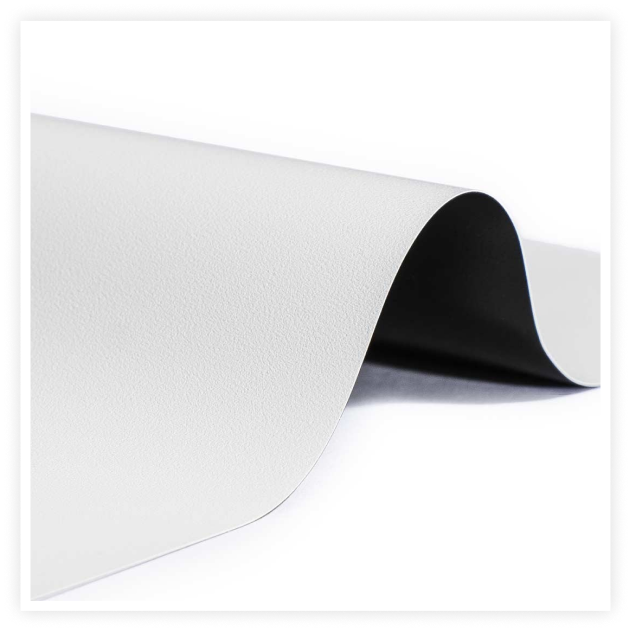
Standard Matte White
Arguably one of the most commonly used fabrics for screens, your displayed image will appear uniform from any viewing angle because the fabric works to diffuse light in all directions. If you are planning on painting your projector screen—an option that we will discuss later—you can also purchase standard matte white paint with the same light diffusion ability.
ProWhite
This material is typically used in roll-down screen applications and gives you great picture quality. Ultra-White is very smooth and matte, so most projectors can display an image on it with unparalleled clarity and uniformity.
Other Options for Screens
While you can definitely project your image directly onto a blank, white wall, the quality of the picture is just heightened so much more when you use a projector screen. And if you don’t want to make an entire screen setup, or only don’t use your projector enough to justify building a DIY screen, there are a few ways to create a viewing screen.
Inflatable Projector Screens
Less expensive than buying a permanent projector screen, but pricier than making your own DIY screen, these types can be taken up and down and stored easily between movie nights.

Inflatable screens can be used for both indoor and outdoor viewing and come in a variety of sizes. Check out this list of the 5 best inflatable projector screens of 2021 for more information.
Projector Screen Paint
Using this special paint to create your home theater screen is a great choice, but is also on the more expensive end of the scale.
This paint was specifically designed to create a screen on your wall or other surfaces, be it plastic, particleboard, cardboard, or metal.
Because matte or flat finishes have a duller appearance, they reflect less light and display the image better, so choosing a matte or flat finish is essential to ensuring the best quality of the picture.
Window Shades
An easy way to set up a makeshift projector screen. Rolldown window shades that are big enough are a great option because they also keep your viewing room dark while displaying the images.
Typically, you can expect a decent picture quality, and for the best results use white or gray shades that overlap your windows by at least 6 inches so that no light bleeds through at the sides.
If you have blackout shades, they will work best as a projector screen and deliver the optimal image quality.
Sheets as Screens
The easiest option apart from projecting directly onto the wall, you can use a sheet as a screen anywhere. You might notice that your images are not as bright as they would be with other screen options, or that wrinkles and tension in the sheet may mar the image, but these aspects are unavoidable.
The higher the thread count, the better your image will display.
With low thread counts, more light will filter through and disrupt the image.
If your sheets are on the low end of thread counts, you can fold them in half or hang multiple layers of sheets to enhance the thickness. Make sure the sheet does not have a pattern or print on it for the best quality.
Wrapping Paper
If you need a temporary projector screen, look no further than the back of your closet!
Wrapping paper that is thick and sturdy with a glossy white bottom is ideal for transforming into a screen, and you can attach it directly to the wall or to a frame with tape.
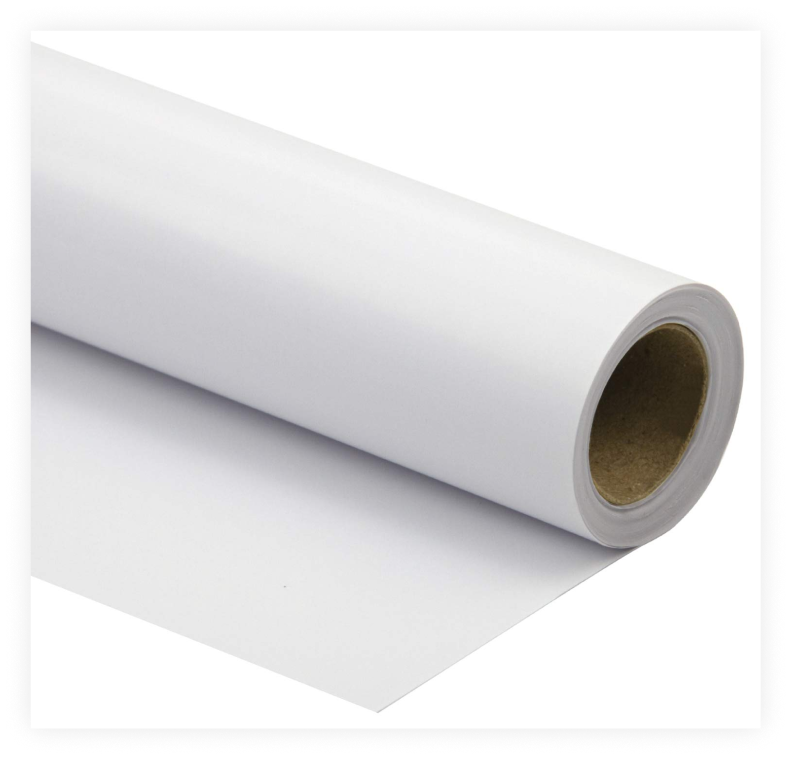
However, this material is incredibly fragile, and any slight movement or gust will cause rips and tears in the paper, and it cannot become damp at all. Any damage to the paper, even just a crease, will show up in the displayed image and distort the final picture.
Tip 3:
Pick the Correct Mount
So, you have determined the location of your screen and the optimal material for it.
Now it is time to consider how you will install the screen—whether that is directly onto the wall, a portable frame, or as a simple hanging.
And when it comes to the frame material, your choice will depend on a variety of factors like budget, indoor or outdoor location, mechanics, aesthetics, and more.
In general, if you are looking for a more permanent screen installation, you can use sturdier frame materials like metal piping or reinforced wood, and more supportive connectors. But if your screen can be more portable or temporary, you can use lighter frame materials like PVC pipes.
Let’s take a closer look at your projector screen installation and frame materials.
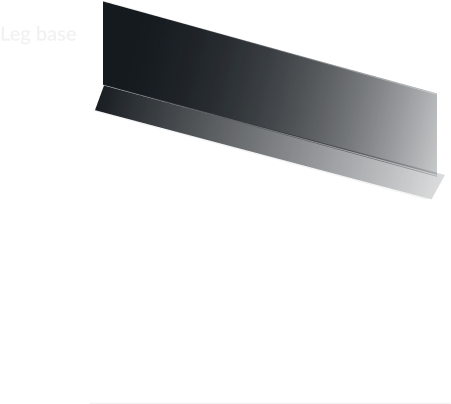
Frame Base Mounting
This is the base mount of the screen material itself.
What kind of frame material you choose will have some effect on the types of mounting you can do, but generally, this frame is what you stretch the screen fabric over and secure it.
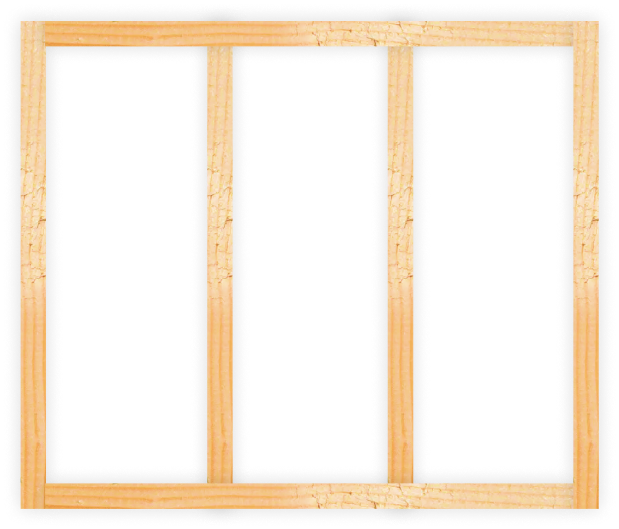
Once this is completed, you can build a simple a-frame legged base for this frame, to allow it to stand upright on its own. It is recommended to use a heavier material for these legs, to avoid the screen becoming overbalanced and toppling over mid-viewing.
Wall or Ceiling Mount
You can purchase wall or ceiling mounting brackets at any of your local hardware retailers. Depending on the material of the screen, the rigidity, and the weight, you will need to select the right hardware for your needs.
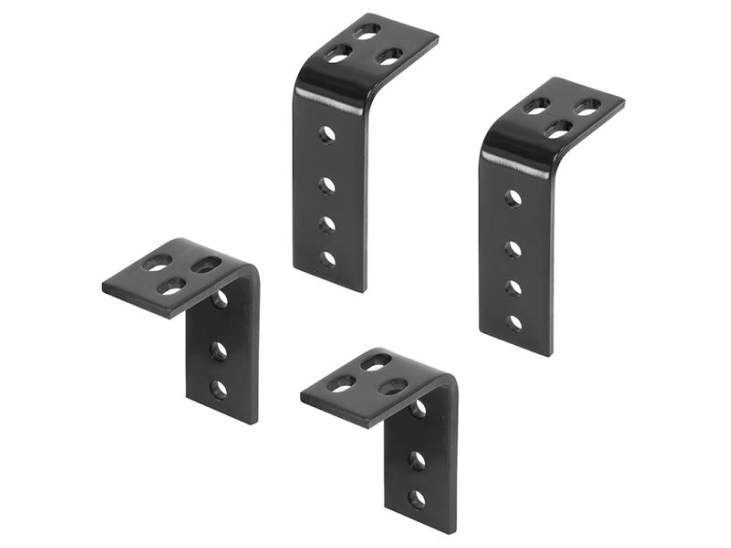
Typically, if you can find an adjustable bracket that holds your projector screen at least 1 foot away from the wall itself, that is a great option for any home theater.

The space between screen and wall will be beneficial for sound system reverberation and bass distribution and keeps the screen material away from any variations of drywall or other surface topography that could cause issues with the image display quality.
To use a wall or ceiling mount, you will need screws and a drill, as well as a bubble level tool to ensure the brackets are installed evenly and the screen will be straight when mounted. If your screen is heavy enough, you may need to use a stud finder to act as sturdy anchor points for the mounting brackets.
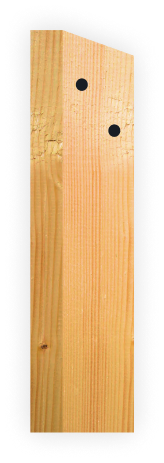
Frame Materials
Just like the fabric options for creating the projector screen itself, choosing the right frame material is essential to creating the best DIY home theater screen. From lighter materials to the sturdier options, you need to consider aspects of usage such as the permanence of your screen, whether it is for indoor or outdoor viewing, and ease of storage.
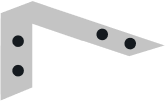
PVC Frame
This is a lightweight material and is great for creating a portable or temporary screen setup.
Using PVC piping is a great option for easy storage, as the parts that make up the frame can come apart easily and be tucked away securely when not in use.
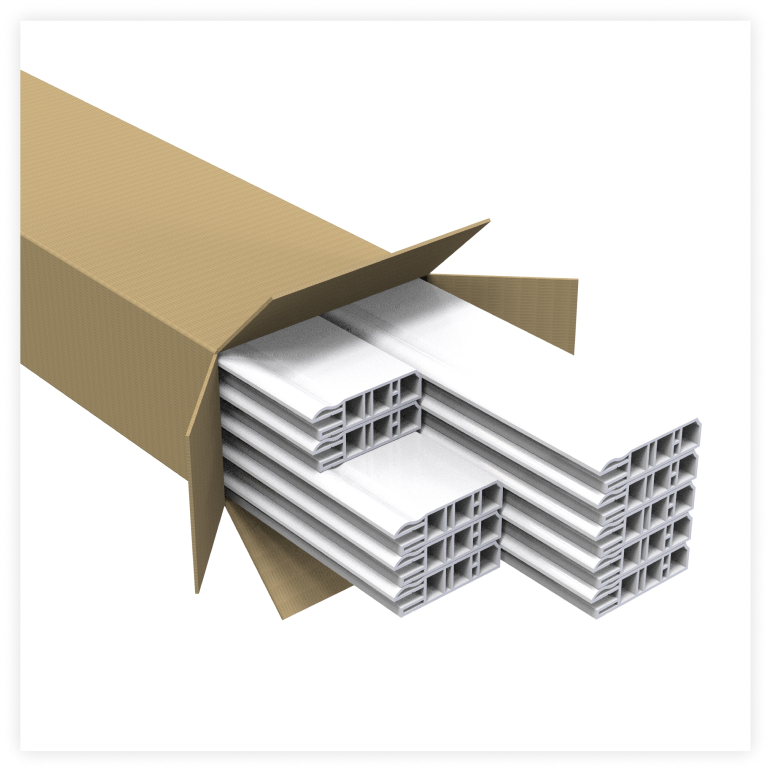
However, due to its light nature, PVC frames are not ideal for outdoor viewing, as your setup would be very vulnerable to any gusts of wind.
Metal Frame
Using galvanized metal pipe for your frame is a good option for a sturdy screen setup. For easier construction, it is recommended that you use galvanized pipe with threaded ends, as well as threaded elbow connectors.
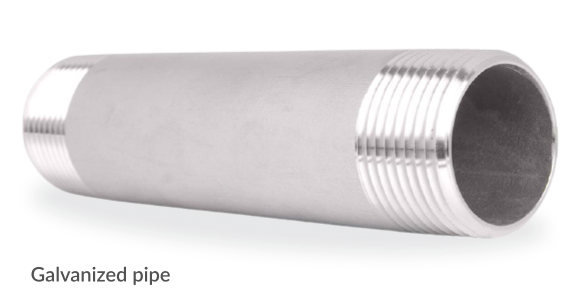
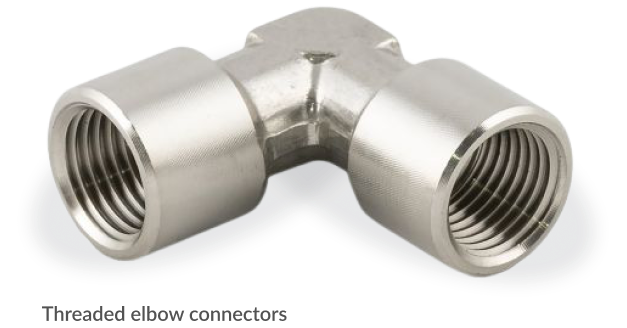
A metal frame is ideal for installation outside, as it is weather-resistant and will last for a very long time without the need for repair or replacement. You can insert the structure right into the points on the lawn where the width of the frame will be placed for a permanent outdoor theater setup.
Wood Frame
A typical choice for DIY projector screen frames, using hardwoods will minimize screen warping.

The recommended wood choice is kiln-dried poplar for its durability and strength, while still being fairly light for easier mounting.
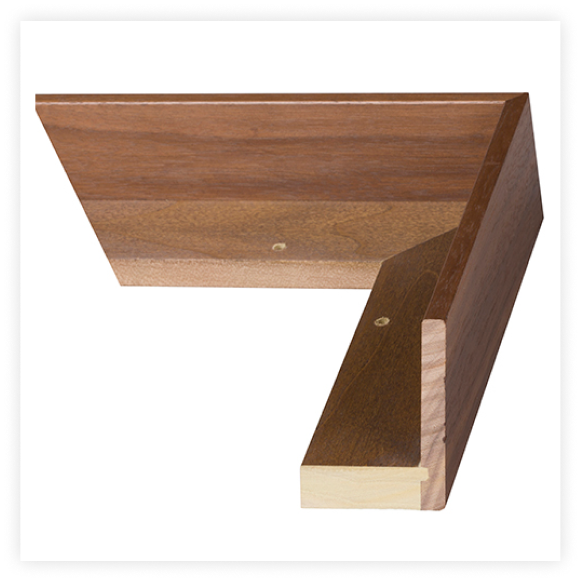
Because lumber comes in varying sizes and stains, you can easily customize the appearance and heft of your frame. Wood also has an excellent lifespan, and if you seal and treat it correctly, your wooden frame can be used for outdoor projector screen installation as well as indoor.
Tip 4:
Backing Considerations
One last step before you can sit back and enjoy your new projector screen is the backing material. This is a layer of soft padding that should be placed between the backer board and the screen fabric.
This is not only for visual aesthetics, hiding any mistakes like screw heads or tiny gaps in the backer board, but it will also create a smoother screen surface.
Backing Material
Most fabric stores will carry the materials you need for backing.
It is generally suggested that you purchase the material at least 4 inches wider and longer than your planned screen dimensions, to allow room for construction or mistakes.
Avoid any material that has textured patterns or decorative stitching that could affect the smoothness of the screen itself. The following are options for simple backing material:
Curtain Backing or Black-Out Cloth
Because it is a light, opaque material used to make curtains block out light, this fabric makes a good screen backing.
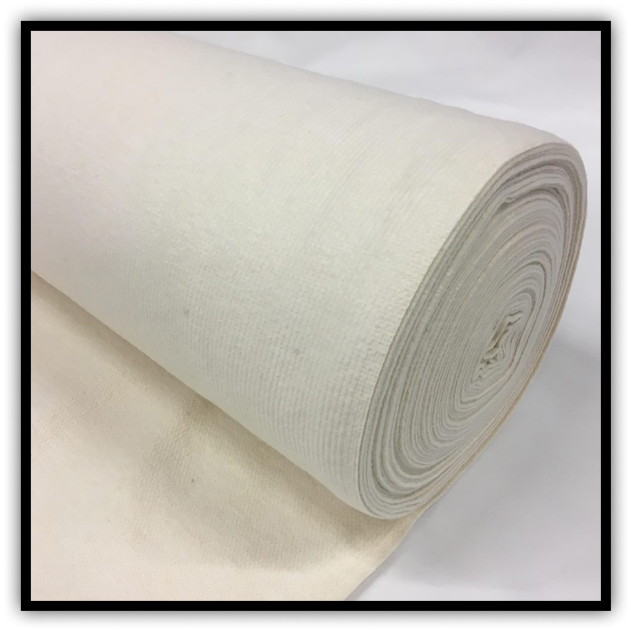
Cotton or Polyester Quilt Batting
Possibly the better of these two options, quilt batting has a plush thickness that is ideal for screen backing, essentially forming a soft underbelly to support your screen material and give it denser light-proofing.
Wall Color
It goes without saying that your wall will need to be big enough for your projector screen, but the color of the wall is also important.
Brightly colored walls are not ideal for your home theater, as they will distract from the screen display and possibly reflect unwanted ambient light.
Typically, white, beige, or gray are the best choices for wall color and depend on the number of lumens that your projector produces.


A good rule of thumb is to go darker if your projector’s specs say that it produces more than 3,500 lumens. This will ensure no stray light projection will reflect and damage the picture quality.

Projector produces 3500+ Lumens
Calculations for Your DIY Projector Screen
There are a couple of last considerations for planning out your DIY projector screen, including how big the screen should be, and your projector’s throw distance, which determines how far the screen needs to be from the projector lens.
How to Measure For Your Projector Screen Size
One of the best ways to determine the size of projector screen you will need is through aspect ratio, and what your viewing needs are.
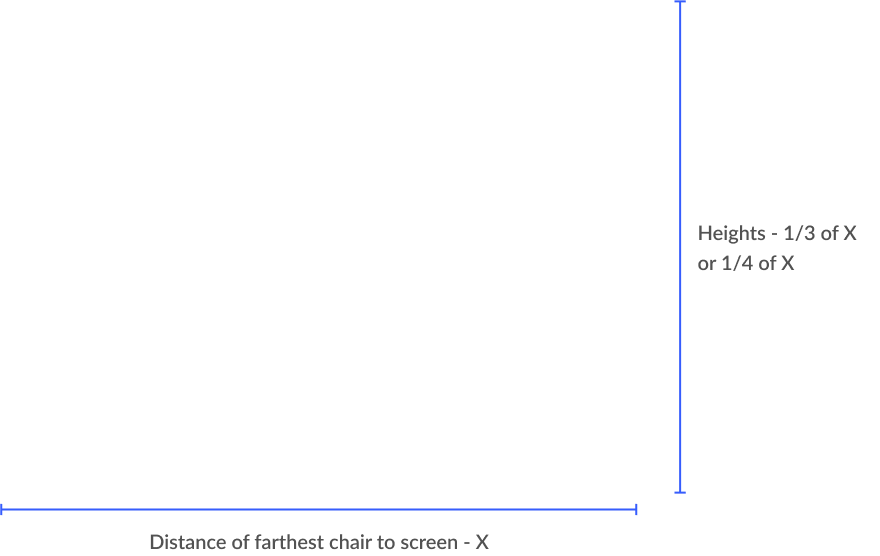
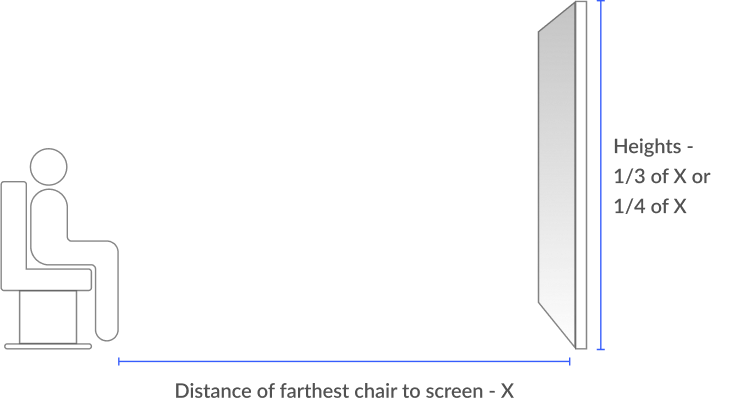
For general settings, such as watching a film or TV show, you will want a screen height that is at least 1/6 as high as the distance from the screen to the farthest chair you might use.

4:3 Video
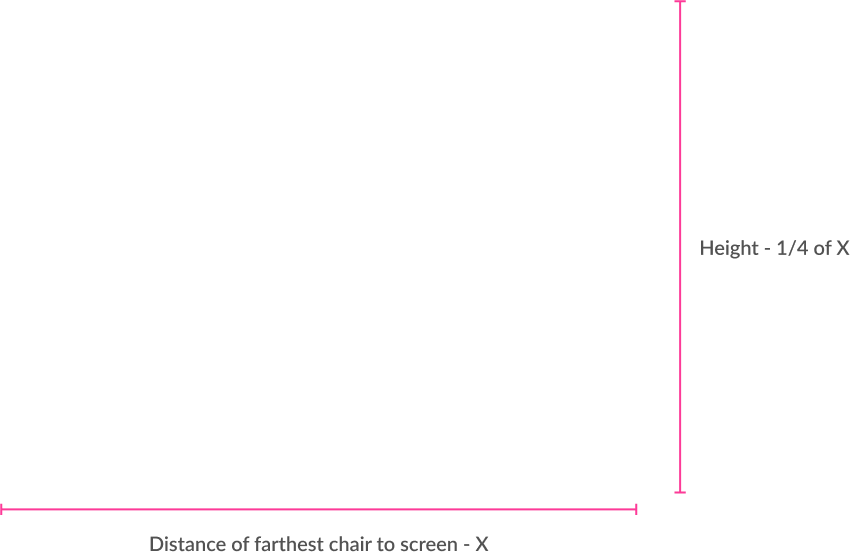
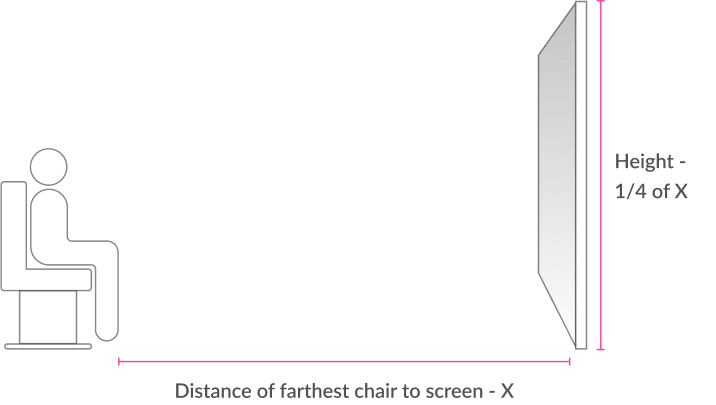
For more expansive home theater setups or presentation setups such as boardrooms or classrooms. To properly view any small media details, the screen height here should be 1/4 as high as the distance to the chair furthest away.
HDTV (16:9) and Widescreen (16:10)
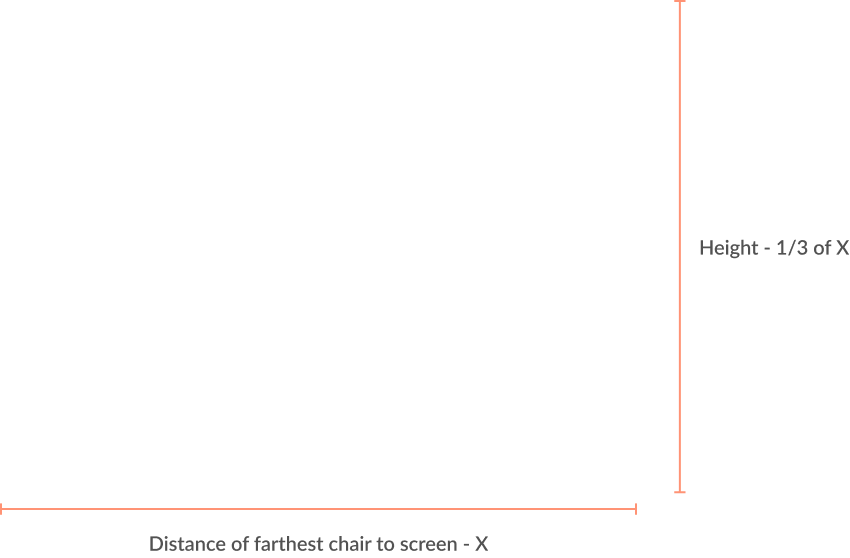
A slightly larger screen is needed here. This screen height should be about 1/3 the distance from the screen to seating.
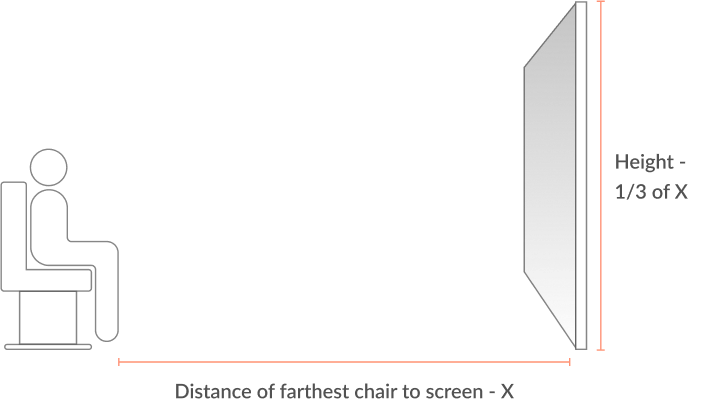
Cinema Video (2.35:1)
Despite this aspect ratio seeming close to traditional sizes, you can use the 1/3 measure with this screen, however, you may find a screen height of 1/4 the distance between seat and screen to be more visually appealing.
You can also refer to this handy guide to selecting your ideal projector screen size for more information.
Throw Distance
The last consideration for your screen is how far away it should be installed. This is determined in part by your projector’s throw distance or the length of the image display.
The equation for any given projector is the width of the image (W) relative to the throw distance (D) and is known as the throw ratio D/W.

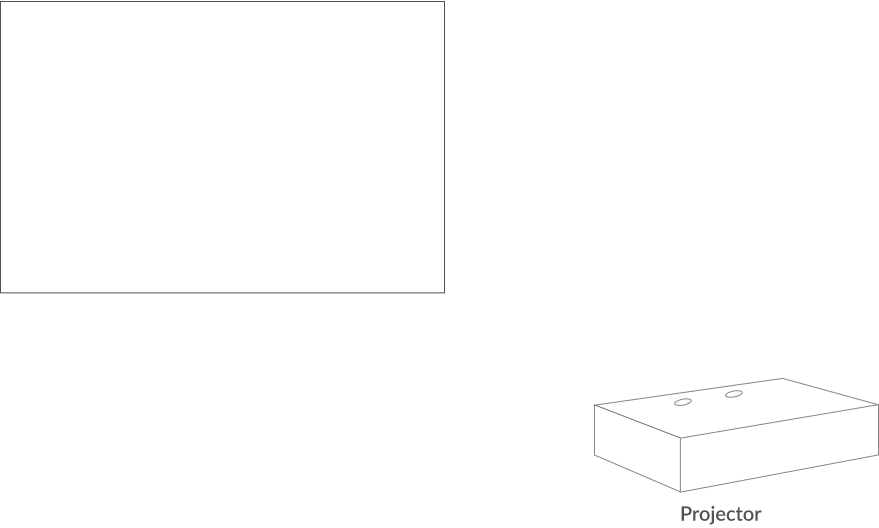
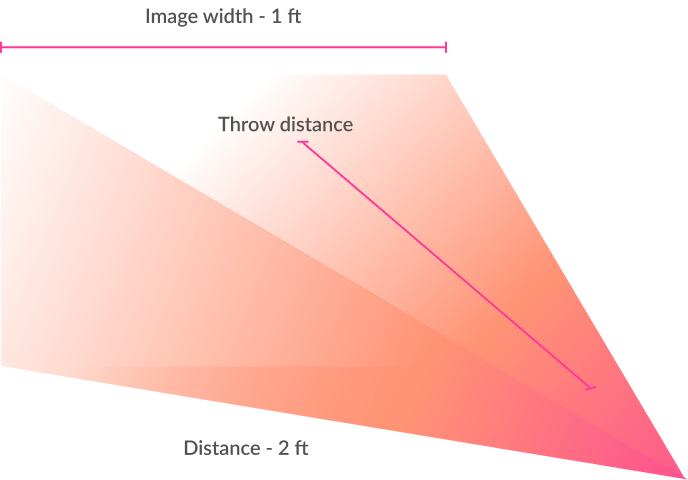
The most common projector throw ratio is 2.0, so in that instance, for each foot of image width, the projector needs to be 2 feet removed from the screen (D/W = 2/1 = 2.0).
As long as the throw distance is correctly measured, your image will fit on the screen and have great visual quality.
To make it easier, use this projector throw distance calculator to ensure your measurements are right.
Making Your Own DIY Projector Screen
Having a home theater to enjoy is a great addition to your home. And when it comes to the projector screen, you can make a custom screen yourself quite easily. Making your own screen is quite similar to creating an artist’s canvas—it can be any size, with your preferred materials, and is fully customizable.
So, when it comes to screening films in your home theater or even in the backyard under the stars, making your own projector screen is completely achievable and very budget-friendly.
All you will need are some easily obtainable materials, some staples or nails, a few tools, and some time to complete the project.
Before you know it, your screen will be built and mounted, and then you can sit back, put your feet up, and relax in your amazing home theater. All you need to do now is grab the popcorn and let your fully immersive movie nights begin!
Useful Resource Links